

Tuesday, June 8, 2010
Monday, June 7, 2010
Scrabble Tile Tutorial
We are getting ready to launch a new look to our blog. We needed to get this tutorial listed and will add photos soon. Here are our basic directions we send out with our kits. More to follow soon.


Sunday, June 6, 2010
Ponytail Tutorial
Lets get started. I will make this a little more exciting as time goes on, but I would like to get you started with this one. Please excuse the photos, it is hard to hold the camera and make buttons at the same time!

Cover buttons come in many sizes, here is a list of the various sizes. We also sell the buttons in your choice of a back - wire back or a flat back. The wire version is your traditional shank button that would be used in a sewing application. Flat backs are great for magnet and other glued applications. For the purpose of making a ponytail, we will use a wire backed button. The main reason is so we can use the holes to secure the hair elastic.

You will need to remove, we use wire cutters, to access the holes and remove the button shank from the back.

a quick snip with wire cutters does the trick.

then using a simple craft wire, available at all craft stores and some hardware stores. Snip off some wire to work with. I use about four inches to start with.

Attach the elastic to the button back with the wire as shown above. Pull the wire through to the back and make sure the wire is snug to the button back.

About 5 or 6 twists of the wire to secure and then snip off the end leaving 3/4's of an inch tail.

You will need to see what is comfortable for you, I have never had one come unattached. If you leave a bigger tail, just smush it flat . . . it will be hidden by the button.

We use elastics that we find at Target, Walmart, drug stores or often our grocery store has great prices. We like the version that doesn't have the metal connection. Often called "ouchless" or "no damage". We use a bigger elastic for size 45 and 60 buttons to make ponytails and smaller size elastics and size 30 and 36 buttons to make pairs of pigtails.

Take your fabric scrap and set it print side down into the pusher tool (you need a tool for each size button you use) and then set the button in with the domed side facing down and the bowl side facing you.

snip the excess fabric and trace around the button. This is a trial and error kind of operation, we leave different amounts of fabric depending on the fabric type. For quilting or regular cotton, we leave about a half-inch.
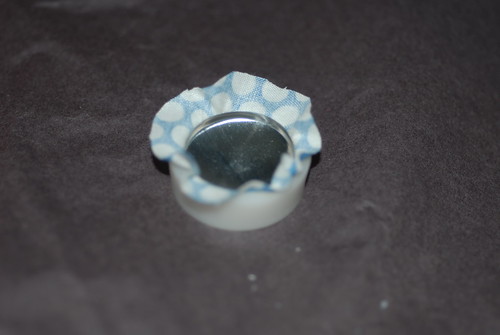
It will look like this when trimmed and ready to attach the button
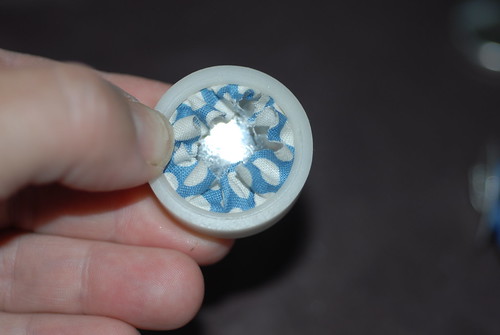
Tuck the fabric into the center of the button shell.

Insert the back into the button shell with the elastic side facing out and the side with the wire twisted into the button. Using the pusher tool as shown in the photo push the back into the button, you will feel it snap into place.

Remove the button from the tool and you will have yourself a ponytail!

The back will look like this
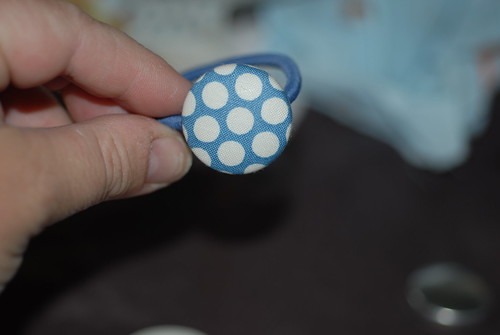
The finished ponytail will look like this!
Tuesday, June 1, 2010
THREE - Sam is three and needs three things to make a party
Three. Sam is three. My baby is three and is officially no longer a baby. He was so thrilled that it was his birthday. It doesn't take much to make this little dude happy. A little love, someone to throw him pitches to hit and a few essentials for his birthday. Actually THREE essentials for his birthday. I wish life was as simple as it is for Sam and that his life will always be ruled by his current code . . . for Sam everything is an adventure and going to be fun and he likes things simple.
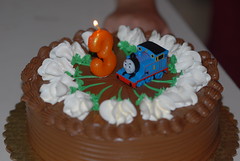
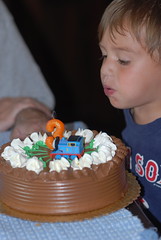
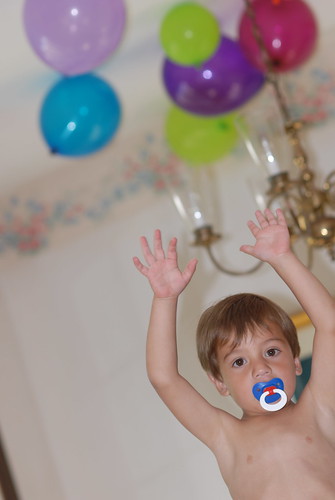
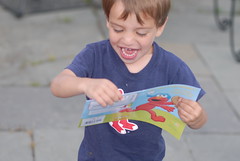

To make a birthday a party, Sam needs
1. CAKE
2. Balloons
3. Singing Card (Elmo doing the singing is a big bonus)
He had a wonderful time and it was great to slow down for a bit and forget about our recent health scare with Steve. He was able to relax with his family and some friends. It was a great day.
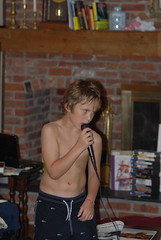
Max singing Eye of the Tiger
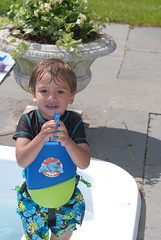
Sam and I spent hours in the pool. He was turning purple, but was so excited to be swimming again, he insisted he wasn't cold . . . just sugaring!
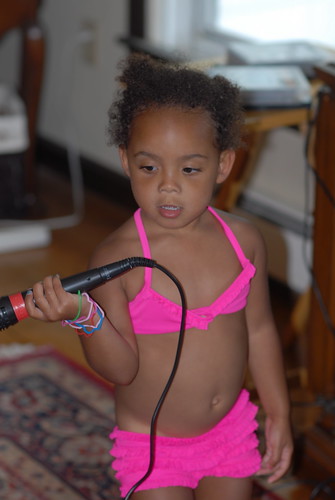
Our little rock star went from the pool to the play station to sing all afternoon
Subscribe to:
Posts (Atom)
Design by Bloggy Blog Designz Copyright © 2010


